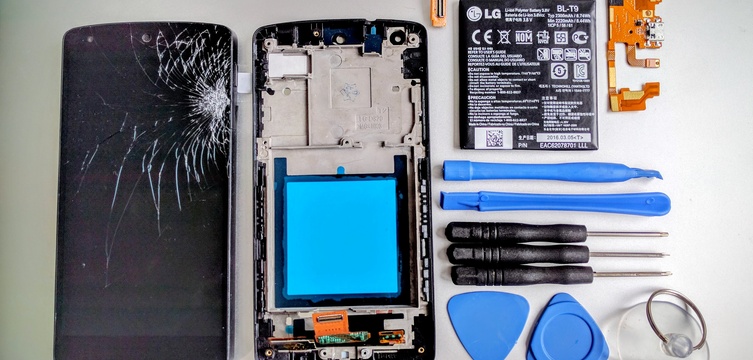
Repairing a Nexus 5

Months ago my Nexus 5 screen got broken and after spend a couple of weeks with an old Samsung, I bought the new and amazing Nexus 6p. The Nexus 5 was - by far - best smartphone I had before the 6p, it was fast, awesome screen, perfect size, nice battery, android stock updates... too many good things to let it die in a drawer.
I asked for the screen repair in a shop near my place but they said that it was hard to repair and the price was around 100EUR, too expensive for my taste so, after a while thinking about what to do, I started to browse Aliexpress and Youtube looking for replacement pieces and the way I can disassembly the phone. I've found golden stuff:
- New LCD screen
- New Li-Ion battery
- New Nexus 5 Flex Cable
- Disassembly Nexus 5 video
- Disassembly Nexus 5 video 2
As I was not in a hurry, I ordered all the stuff before holidays knowing that it won't arrive soon and yesterday got the surprise in the mailbox. Took proper tools, a hair dryer, tweezers, screwdrivers and - of course - a bunch of patience... let's do it.
In the beginning I was scared to break some frail piece because there are many of them stuck together with glue, but the hair dryer (and the patience) helped so much. After the first half an hour I was more confident with myself, the phone was disassembled and I was live to tell it. The assemblage part - put all the pieces together again in the new screen frame - was more easy and fun.
After a couple of hours it came the truth moment, to press the power button and to pray for the screen to run... and it did!, the phone worked again!.
It's really awesome to know how/where the phone internals are and how to replace whatever, now I see myself able to replace any piece of this phone and it makes it closer to me. So... challenge hundred-per-cent completed!
gallerystart * galleryend